

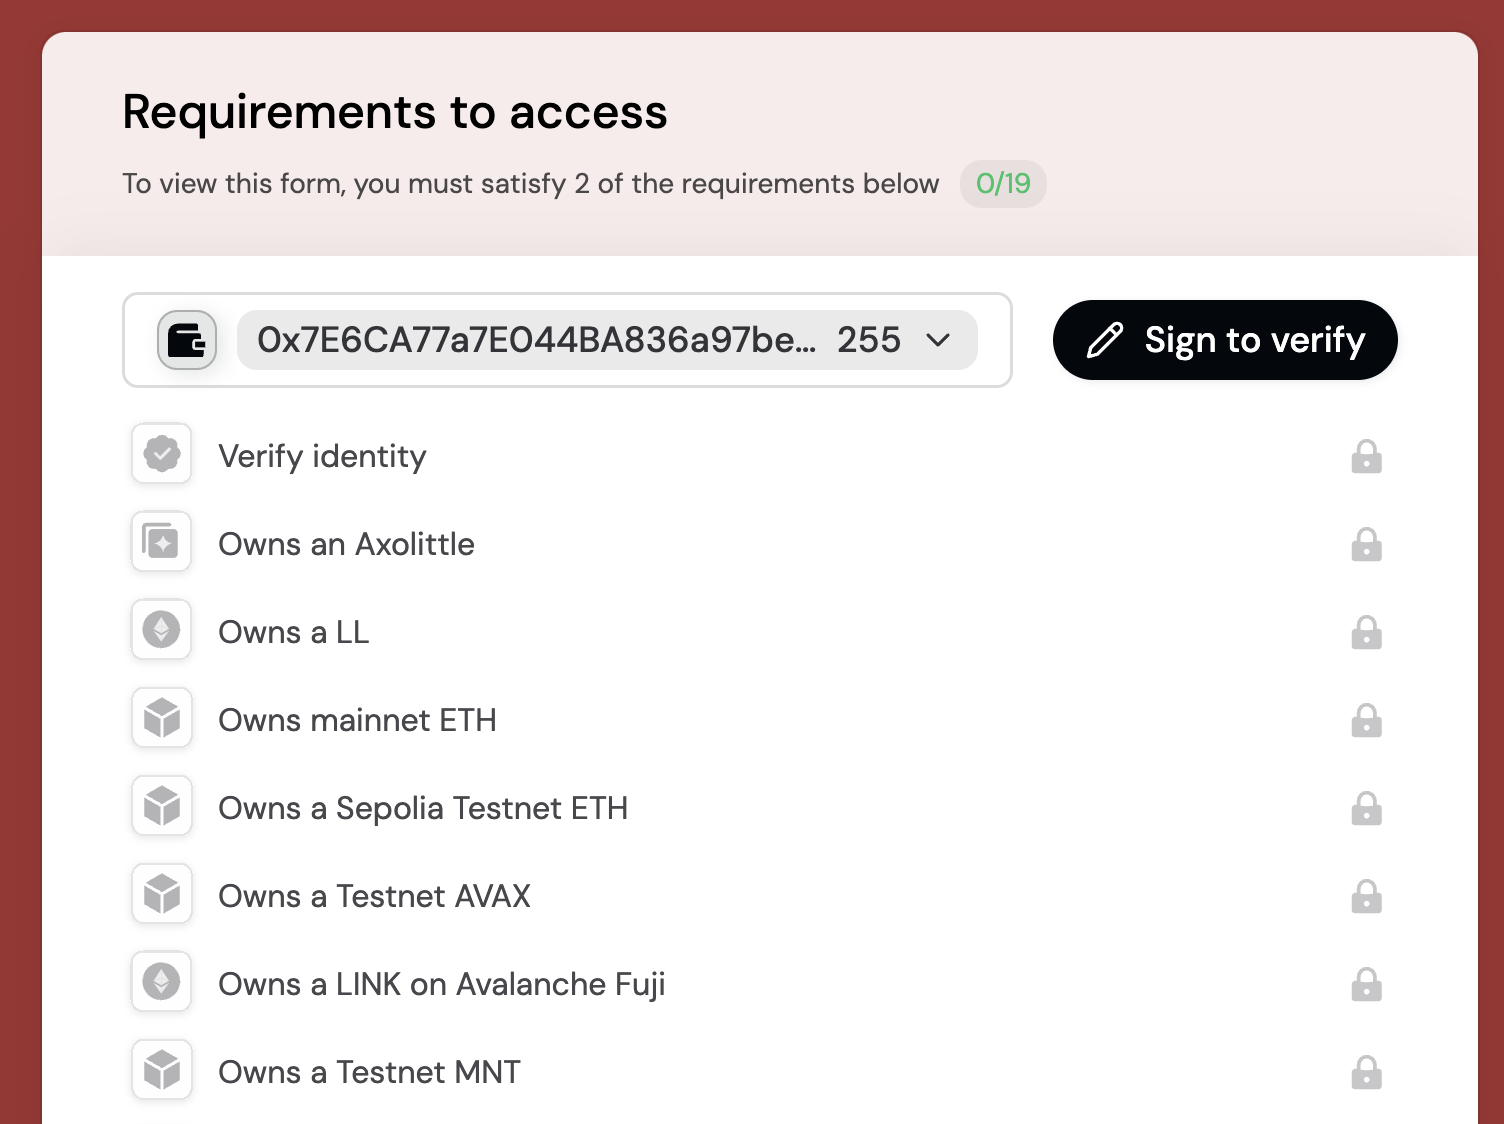
Quickstart
1
Create a form
Sign in to app.formo.so to create your form.
2
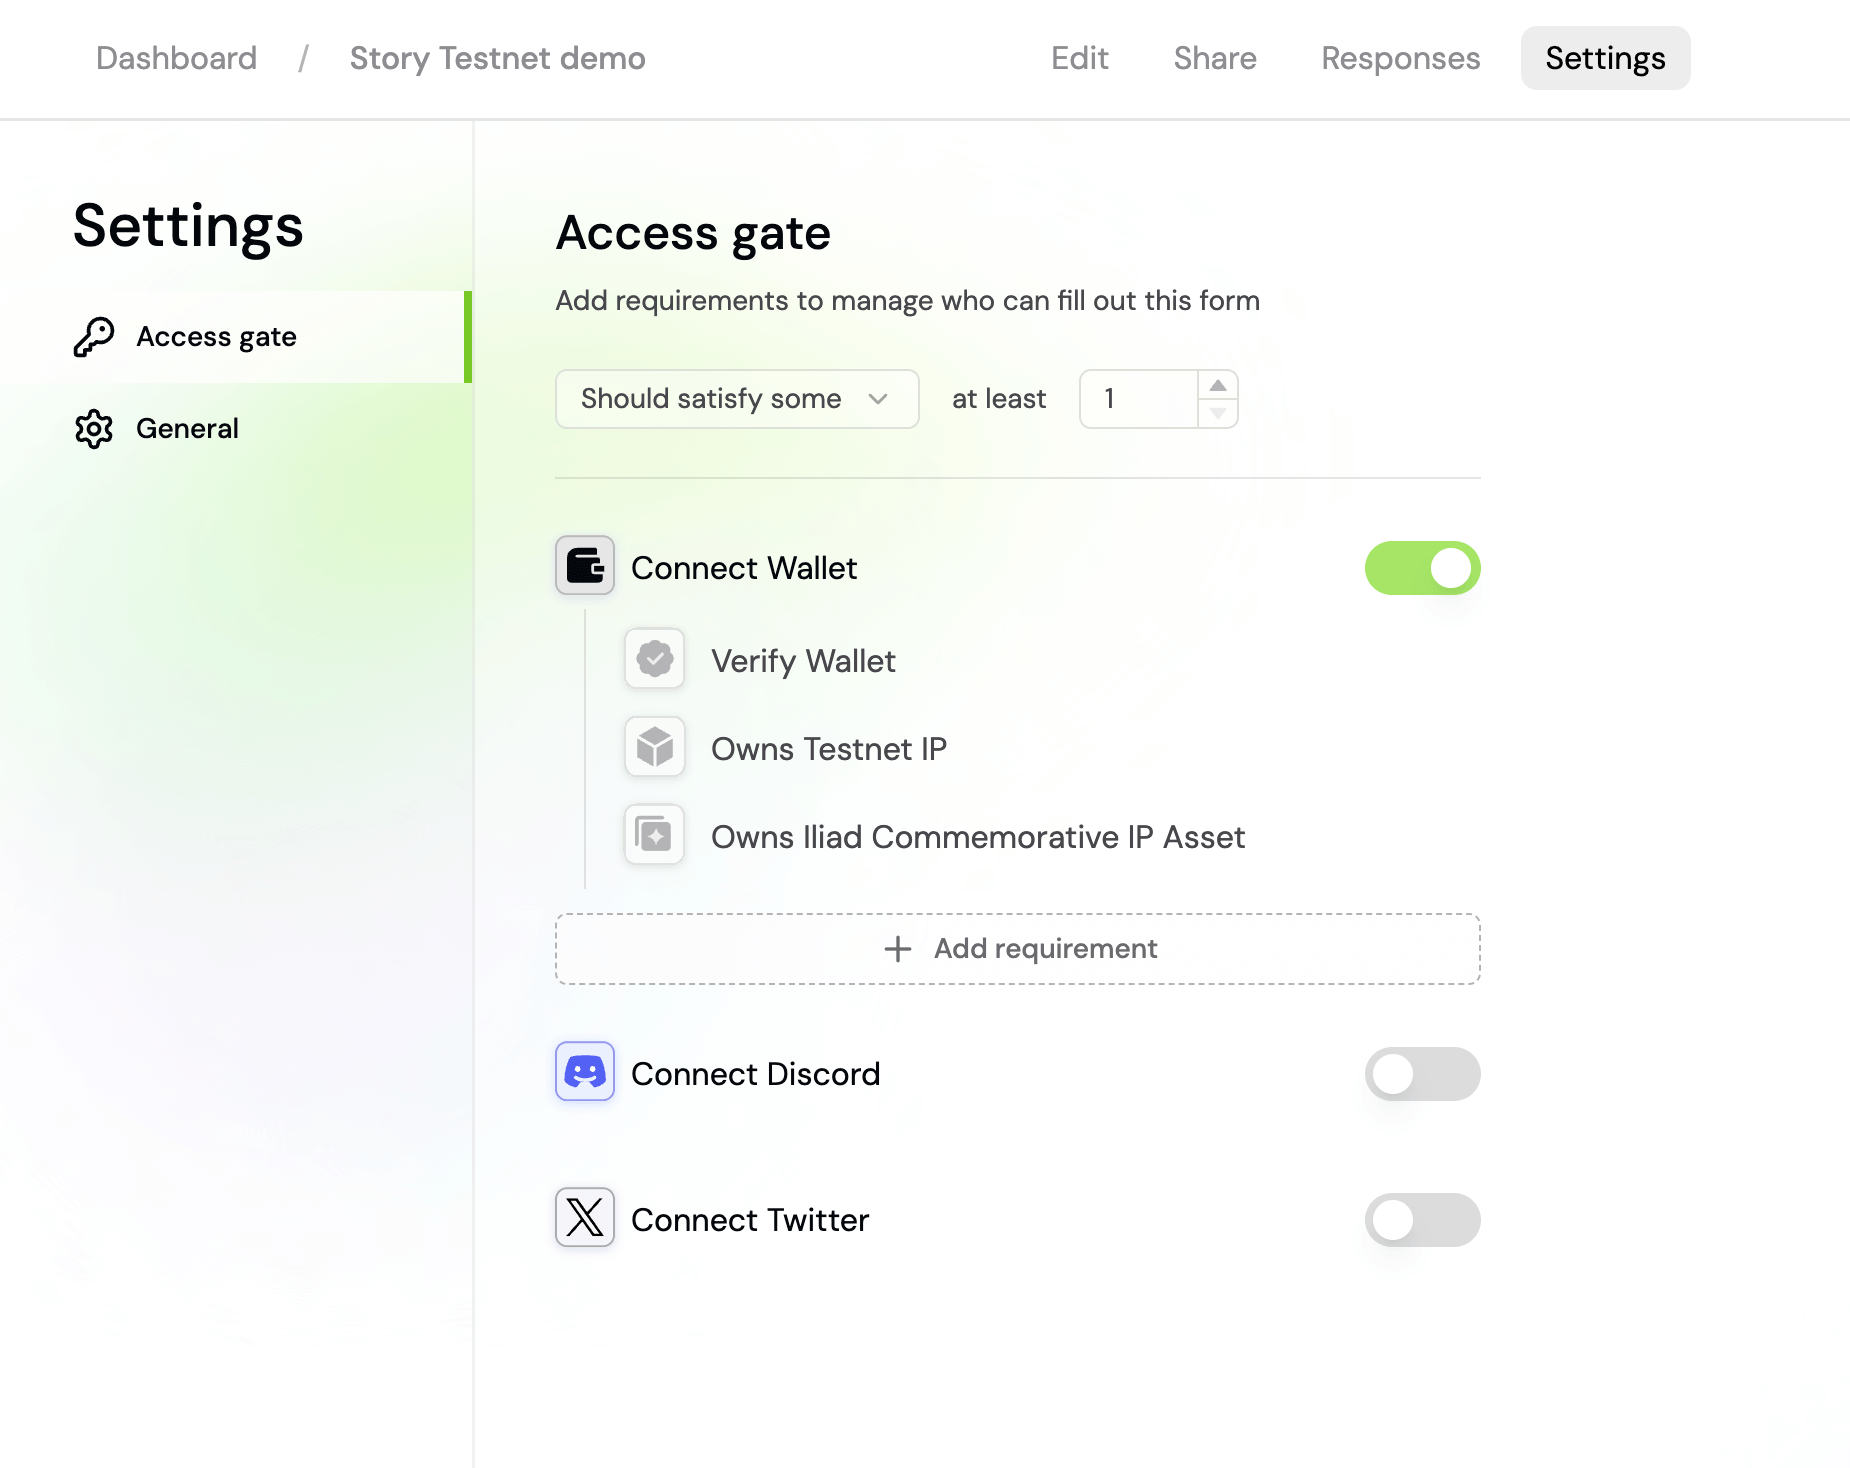
Enable token gating
Go to your form’s settings page to enable token gating.
3
Add requirements
Click Add Requirement to add one or more gating requirements.
4
Publish
Publish your form and share the link with your users.
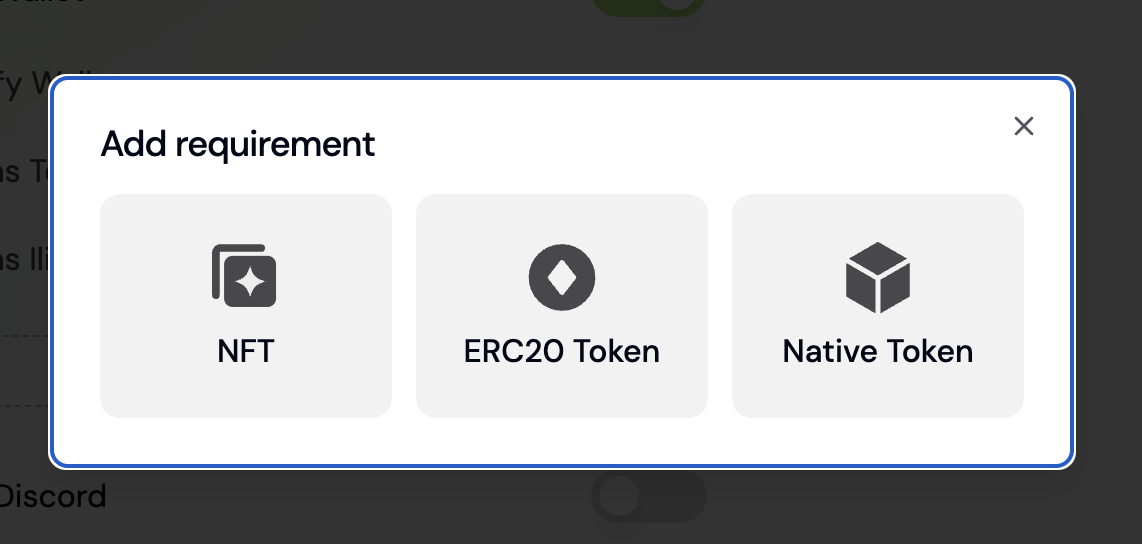
Native Token
Require responders to hold a minimum balance of a chain’s native token (e.g., ETH, MATIC, BNB).Setup
- In your form settings, click Add Requirement and select Native Token
- Choose the chain (Ethereum, Base, Polygon, etc.)
- Set the minimum balance required
Example
Require at least 0.1 ETH on Ethereum Mainnet:ERC-20 Token
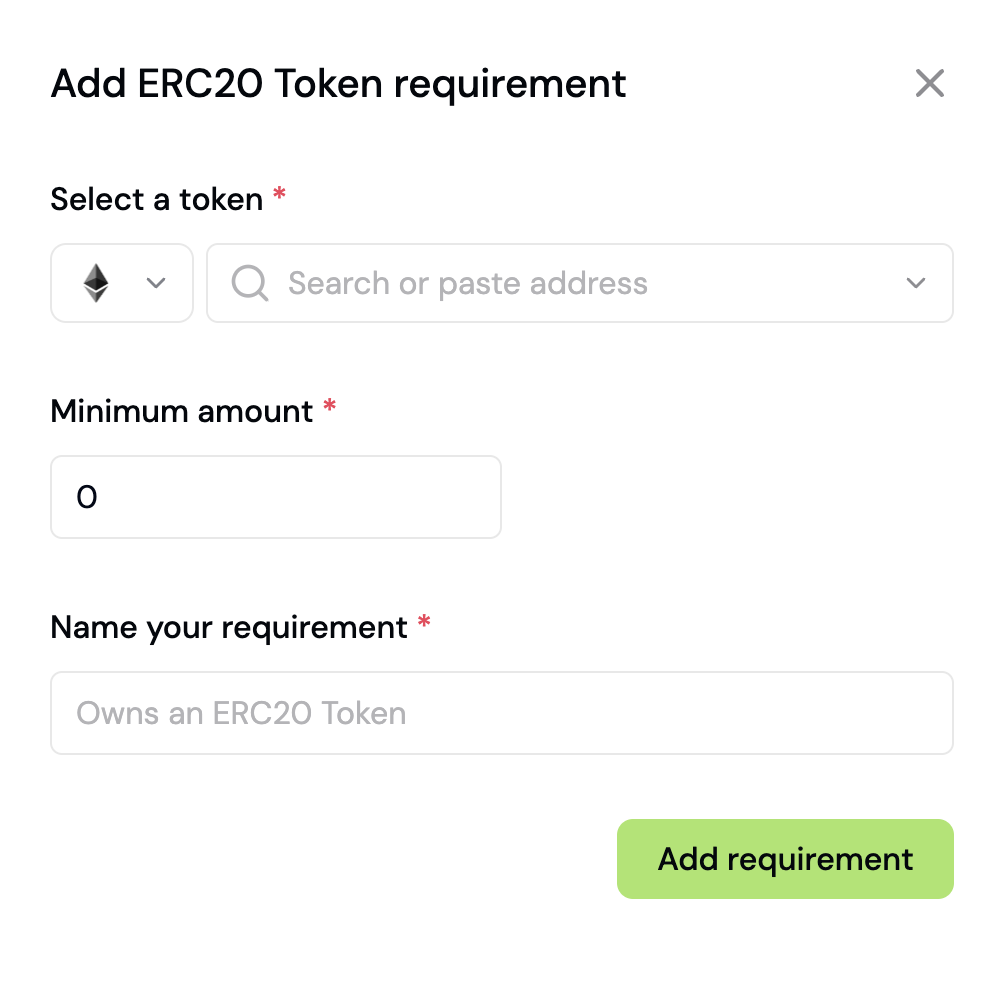
Require responders to hold a minimum amount of a specific ERC-20 token.Setup
- In your form settings, click Add Requirement and select ERC-20
- Choose the chain where the token is deployed
- Paste the token contract address
- Set the minimum balance required
Example
Require at least 1,000 USDC on Base:NFT
Require responders to hold one or more NFTs from a specific collection (ERC-721 or ERC-1155).Setup
- In your form settings, click Add Requirement and select NFT
- Choose the chain where the NFT collection is deployed
- Paste the NFT contract address
- Set the minimum quantity required
Example
Require at least 1 NFT from a collection on Ethereum:Contract Read
Gate form access based on any smart contract’s read function. This is useful for verifying staking balances, governance power, protocol participation, or any other onchain state that can be queried from a contract.How it works
Contract Read calls a read-only function on a smart contract and compares the result against a value you specify. The responder’s wallet address can be passed as a function argument using the{{address}} placeholder.
Example: Require that the responder has staked at least 100 WCT tokens by reading the stakedBalance(address) function.
Setup
1
Add a Contract Read requirement
In your form settings, click Add Requirement and select Contract Read.
2
Select the chain
Choose the chain where your contract is deployed (Ethereum, Base, Arbitrum, etc.)
3
Enter the contract address
Paste the smart contract address (e.g.,
0x1234...abcd).4
Provide the ABI
Paste the contract ABI (JSON format). For verified contracts, you can copy the ABI from Etherscan.
5
Select a function
Choose a read-only function from the ABI. Only
view and pure functions are available.6
Configure function arguments
Enter the function arguments. Use
{{address}} as a placeholder for the responder’s wallet address.7
Set the condition
Choose a comparison operator and the expected value:
8
Publish
Publish your form. Formo will verify each responder’s wallet against the contract before allowing submission.
Example: Staking requirement
Gate access to users who have staked at least 100 tokens:Example: Governance power
Require a minimum voting power to access a governance feedback form:Supported functions
Contract Read supports anyview or pure function that:
- Returns a single scalar value (number, boolean, address, or string)
- Takes scalar input parameters (no arrays or structs)
balanceOf, stakedBalance, getVotes, isWhitelisted, hasRole, and any custom getter function on your contract.
Allowlist
Restrict a form to a fixed list of wallet addresses you upload as a CSV. Useful for private betas, airdrop claims, and any form where the audience is a list you already hold rather than an onchain condition. Available on both Connect Wallet (EVM) and Connect Wallet (Solana).How it works
Your browser turns the CSV into a Bloom filter, a compact bit array that answers “is this address on the list?”. The original allowlist is never stored anywhere. Respondents connect and sign with their wallet to prove they own the address. Formo verifies that proven address is in the allowlist.Setup
1
Open the form settings page
On your form, go to Settings > Access.
2
Enable a wallet requirement
Turn on Connect Wallet (EVM) or Connect Wallet (Solana).
3
Add the Allowlist condition
For each Connect Wallet, click Add requirement and select Allowlist (CSV).
4
Upload your CSV
Click Upload CSV and choose your file. Formo shows how many unique addresses it found.
5
Name and save
Give the requirement a name (e.g. Wallet is on the allowlist) and save, then publish your form.
Solana
Alongside EVM chains, you can gate forms on Solana wallets. Enable Connect Wallet (Solana) in your form settings, then add one or more conditions:
Responders connect a Solana wallet (Phantom or Solflare) and sign a message to prove ownership before their balances are checked.
Setup
- In your form settings, enable Connect Wallet (Solana)
- Click Add requirement and choose a condition
- For SPL Token, paste the token mint address and set the minimum balance
- For NFT, paste the collection address and set the minimum quantity
World ID
Require responders to verify with World ID’s proof-of-personhood check before submitting. See World ID integration for setup. Optionally enable Require unique World ID to block the same verified human from submitting more than once.Human Passport
Require a minimum Human Passport Unique Humanity Score to filter out bots and sybil accounts.Setup
- In your form settings, click Add Requirement and select Human Passport
- Set the minimum Unique Humanity Score (0-100; defaults to 20)
Example
X Verified
Require responders to have a verified X (formerly Twitter) account, indicated by the blue checkmark.Setup
In your form settings, click Add Requirement, select Connect X, then X Verified. No further configuration is required.Discord
Require responders to connect a Discord account before submitting.Setup
In your form settings, click Add Requirement and select Connect Discord. No further configuration is required.Telegram
Require responders to connect a Telegram account before submitting.Setup
In your form settings, click Add Requirement and select Connect Telegram. No further configuration is required.Combining requirements
Under Access gating in your form settings, choose how many requirements a responder must meet:- Should meet all (default): responders must satisfy every requirement you’ve added
- Should meet some: responders must satisfy at least N of your requirements, where you set N