
- 🔑 Token gating. Gate access by token ownership, NFT collections, or other onchain credentials.
- ✅ Verified socials. Verify Twitter accounts, Discord usernames, Farcaster, and more.
- 🎨 Custom branding. Customize your backgrounds, colours, and logo to match your brand.
- 🎨 Template library. Choose from a variety of form templates or build your own.
- 🌐 World ID proof-of-personhood verification.
How to create your first token-gated form
Build and launch a token-gated form in under 10 minutes. This guide walks you through creating a form, adding token requirements, customizing branding, and viewing responses.Step 1: Create a new form
- Go to the Formo Dashboard
- Click Forms in the left navigation
- Click Create Form
- Choose a template or start from scratch:
- Waitlist - Collect emails and wallet addresses
- Survey - Gather feedback from your community
- Application - Accept applications for grants, allowlists, etc.
- Blank - Start with an empty form
Step 2: Add form fields
The form builder uses a drag-and-drop interface. Add fields by clicking the + button or dragging from the sidebar. Available field types:| Field | Use case |
|---|---|
| Wallet | Capture connected wallet address (required for token gating) |
| Collect email addresses | |
| Short Text | Single-line responses |
| Long Text | Multi-line responses |
| Multiple Choice | Select one option from a list |
| Checkboxes | Select multiple options |
| Verify and capture Twitter handle | |
| Discord | Verify and capture Discord username |
| Farcaster | Verify and capture Farcaster ID |
Step 3: Enable token gating (optional)
To restrict form access based on token ownership:- Click Settings in the form builder toolbar
- Toggle Token Gating to enable
- Click Add Requirement
- Configure your requirement:
- ERC-20 Token
- NFT Collection
- Contract Read
- World ID
- Select ERC-20 as the type
- Choose the chain (Ethereum, Base, Arbitrum, etc.)
- Paste the token contract address
- Set minimum balance (e.g., 100 tokens)
Step 4: Customize branding
Make your form match your brand:- Click Design in the form builder toolbar
- Customize:
- Logo - Upload your project logo
- Background - Set a color or upload an image
- Colors - Match your brand colors
- Font - Choose from available fonts
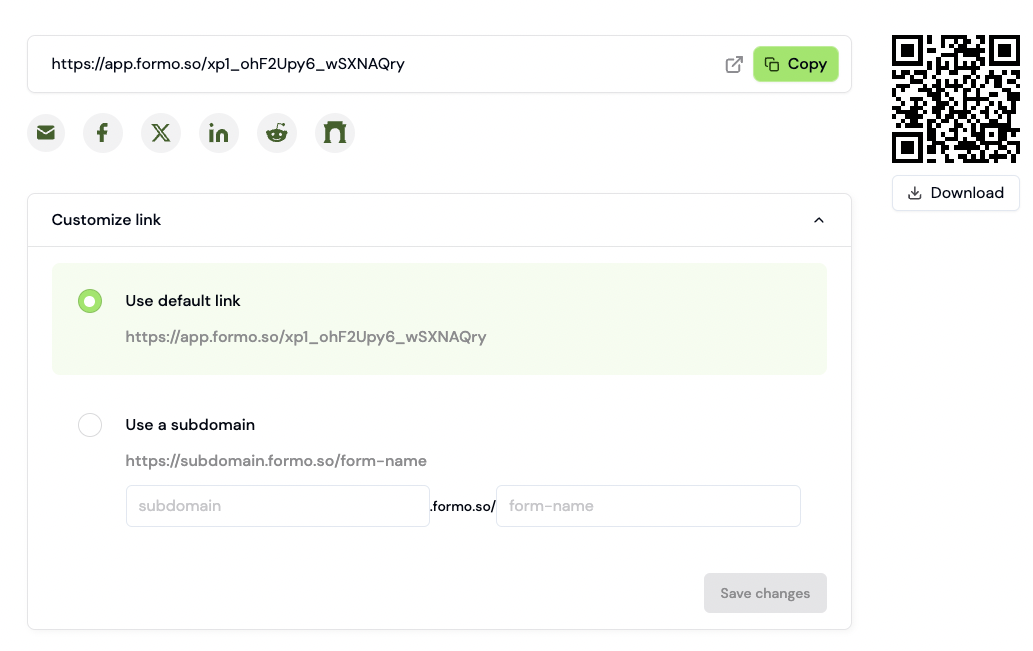
Step 5: Publish and share
- Click Publish in the top right
- Copy your form URL (e.g.,
forms.formo.so/your-form) - Share the link with your community
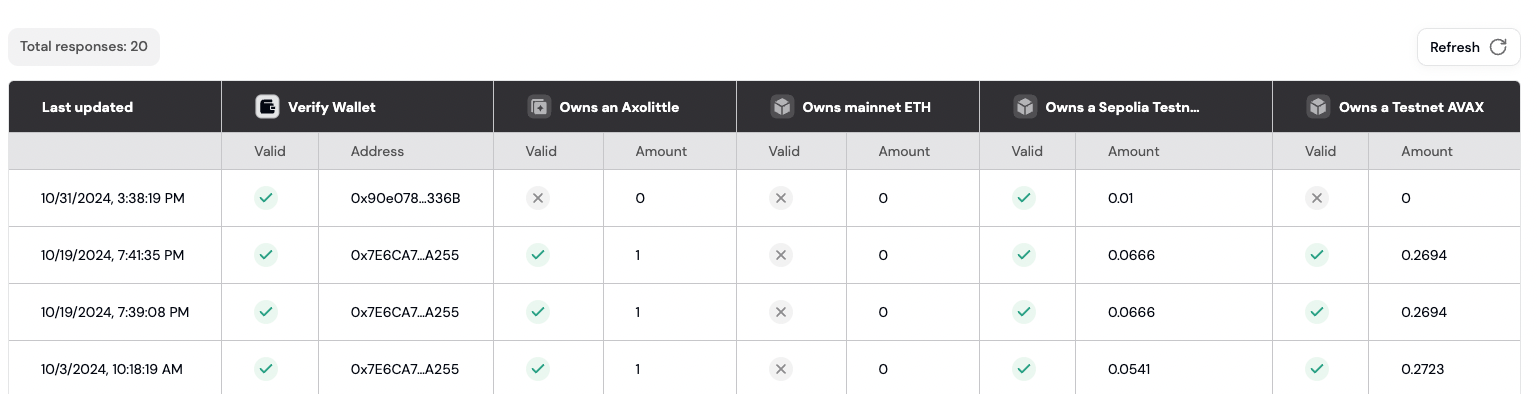
Step 6: View responses
As responses come in, view them in the dashboard:- Go to Forms > select your form
- Click the Responses tab
- You’ll see each submission with:
- Wallet address
- Form answers
- Token verification status
- Submission timestamp
Example: NFT holder feedback form
Here’s a practical example of a token-gated survey:| Setting | Value |
|---|---|
| Template | Survey |
| Token requirement | NFT: Your collection address |
| Minimum holdings | 1 NFT |
| Questions | ”How did you hear about us?”, “What features would you like?” |
| Branding | Your logo, brand colors |
FAQ
Which blockchains are supported for token gating?
Which blockchains are supported for token gating?
Token gating supports EVM-compatible chains (Ethereum, Base, Arbitrum, Optimism, Polygon, and more) as well as Solana. See the full list of supported chains.
Can I require multiple token conditions (AND/OR logic)?
Can I require multiple token conditions (AND/OR logic)?
Yes. You can configure multiple token gate conditions and choose whether users must meet all conditions (AND) or any one condition (OR). See token gating for details on configuring multi-condition gates.
What social accounts can be verified on token-gated forms?
What social accounts can be verified on token-gated forms?
Can I customize the branding and design of my form?
Can I customize the branding and design of my form?
Yes. You can add your logo, set brand colors, customize the background, and configure the form layout. Forms are designed to be embeddable on your own site or shareable as standalone links.
Next Steps
Token Gating Details
Learn about all token gating options
World ID Verification
Add proof-of-personhood verification